If you see in the Office Add-Ins under the “Managed by your administrator” tab that there is no connection to the catalog, a quick workaround is to use so called “sideloading”.
Before you start, please download this file first:
SlideLizard CreatorAfter downloading, follow the steps of the tutorial below for your operating system.
Windows
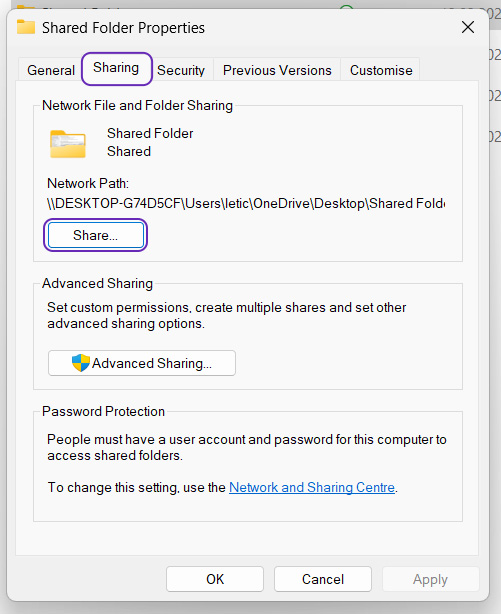
Start by creating a folder and naming it “Shared Folder”. Now insert the previously downloaded file (SlideLizardCreator.xml). Then open the folder properties, select “Sharing”, and click the “Share” button.
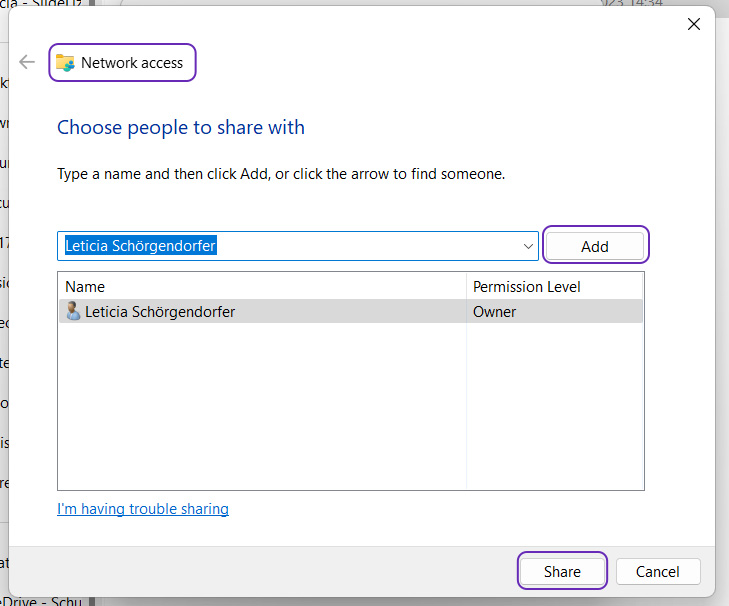
To access the folder, you need to add yourself and any other users you want to share the add-in with in the “Network Access” dialog box. It is important that you have read and write access to the folder. Once you have selected the desired people, click the “Share” button.
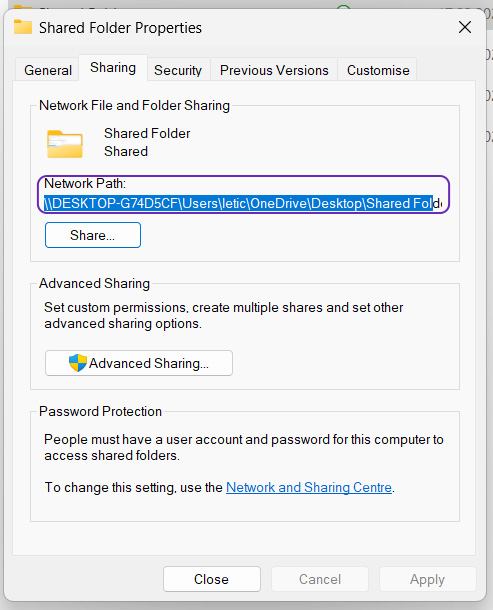
Once you have received confirmation that the folder has been shared, save the full network path that appears directly after the folder name.
Then open PowerPoint, click on the “File” tab, then on “Options” and select “Trust Center”.
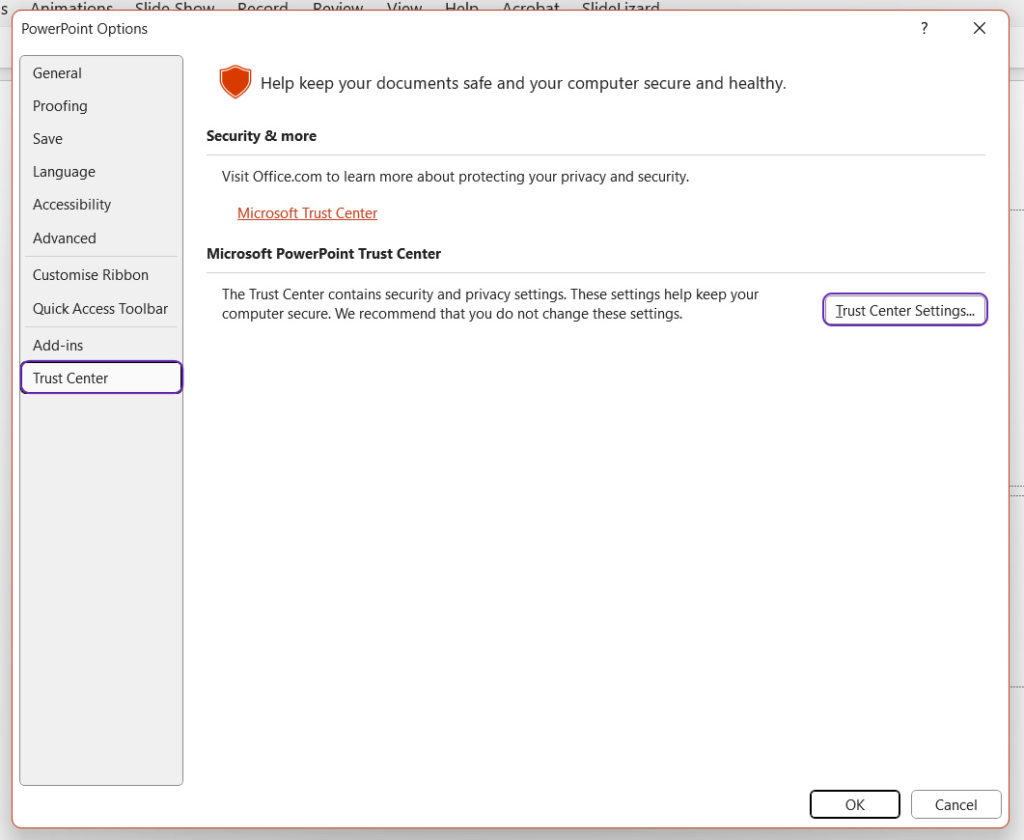
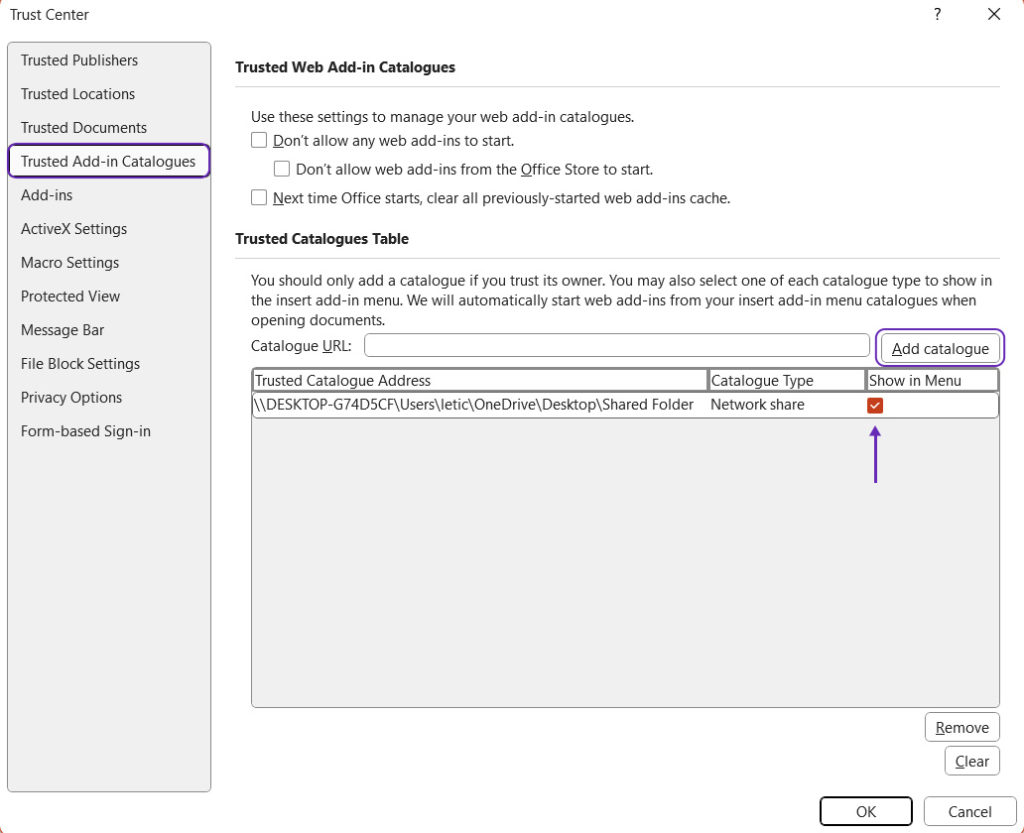
Afterwards select “Trust Center Settings”. Now you can insert the previously saved link. You may need to edit the link, make sure to check if there are two “\” characters before the link, if not, add them manually. Before closing the window, select “Show in Menu” and then click “OK”.
Once these steps are completed, you can go to “Insert” and open your add-ins. Now a new tab “Shared Folder” should appear. Your add-in should now be in this tab!
Quelle:
Mac OSX
1. Open Finder: Start by opening Finder on your Mac.
2. Access the ‘Go to Folder’ Dialog: Use the keyboard shortcut `Command+Shift+G` to bring up the ‘Go to Folder’ dialog quickly.
3. Enter the File Path: Type the following path into the dialog box, replacing `<username>` with your actual Mac username (this is usually the name you see when you open your user folder in Finder):
`/Users/<username>/Library/Containers/com.microsoft.Powerpoint/Data/Documents`
4. Locate or Create the ‘wef’ Folder:
- In the folder that opens, look for a folder named “wef”. If it exists, open it.
- If there is no “wef” folder present, you’ll need to create it. To do this, right-click within the Finder window, select ‘New Folder’, and name this new folder “wef”.
5. Insert the Add-in File: Move the previously downloaded add-in file (ensure that it is named `SlideLizardCreator.xml`) into the “wef” folder you just found or created.
6. Open PowerPoint and Load the Add-in:
- Open Microsoft PowerPoint.
- Click on the “Add-ins” tab in the menu bar.
- You should see the SlideLizard CREATOR add-in listed there. If it is not immediately visible, you may need to restart PowerPoint or look for an option to ‘Manage My Add-ins’ or ‘Refresh’ under the Add-ins tab.